
-
Email Notifications
Properly configuring notifications is an important aspect of managing your booking system. In this step-by-step guide, we’ll help you set up email notifications and troubleshoot any issues you may encounter.
Define the Sender Account
The first step is to define the sender account. All notification emails will be sent from this account. You can define many sender accounts, but only one is used in the system at a time.
Go to the menu item ‘Chauffeur Booking System’ -> ‘Email Accounts’. To add a new account, click the ‘Add New’ button. After clicking ‘Add New’, you will be directed to a page that allows you to create a new email account. First, enter the email account title. Below, you will see three main tabs: ‘Sender’, ‘SMTP Authentication’, ‘Email Testing’.
‘Sender’ Tab
- Sender Name: Enter the sender’s name.
- Sender Email Address: Enter the sender’s email
address. It is recommended that an email account with this address exists
in your server configuration.
‘SMTP Authentication’ Tab
SMTP authentication is a method of securing your email sending. It is recommended to complete this tab. Although it happens that some hostings do not use SMTP authentication and you can leave this option disabled, in most cases you need to enable SMTP authentication and complete all fields in this tab. Moreover, if you encounter problems with notification emails going to spam, it is also worth enabling and configuring this option.
To configure SMTP settings, you’ll need specific information from your hosting provider. Typically, you can obtain this data from your hosting provider’s support. Look for details such as the SMTP server (host), port number, and the type of secure connection (SSL, TLS, or none).
For example, for Hostgator it is:
- Username is one of the email accounts you
created on Hostgator. - Password is the email account’s password.
- Host is ‘mail.yourdomainname.com’.
- Port is 465.
- Secure connection type is ‘SSL’.
You can use free online tools to test your configuration, e.g.: SMTP Checker | SMTP Test Tool Online.
- Username: Username, usually the email address
of an existing account. - Password: Enter the password assigned to this
account. - Host: Enter hostname.
- Port Number: Enter port number.
- Secure Connection Type: Set connection type.
SSL usually but check with your hosting provider.
Debug
The ‘Enable’ setting is for testing purposes and allows you to view communication with your SMTP server. If you enable this option, go to step #4 on your booking form, then enable the console in your web browser (‘F12’ -> ‘Console’). Now click the ‘Book Now’ button, you will see the request in the console and you can check the response.
Important!
The ‘Debug’ option should be disabled by default. Otherwise, you will not be able to proceed beyond step #4 to finalize the transaction in your booking form.
‘Email Testing’ Tab
Using this tab, you can send a test email and check the server’s response.
After completing the configuration, remember to save the changes by clicking the ‘Publish’ button. You will see your newly created account in the ‘Email Accounts’ list.
Setting Notifications for the Form
The second step is to configure email notifications for the booking form. To do this, go to the menu item ‘Chauffeur Booking System’ -> ‘Booking Forms’. Click on the form of your choice (or create a new one if you haven’t done so already). Go to the ‘Notifications’ -> ‘Email’ tab.
‘Notifications’ -> ‘Email’ Tab
- Sender Account: Here, select the previously
created sender account from the list. - Recipients Email Addresses: Here, define the
address or email addresses of the notification recipients. This may be,
for example, the email address of the business owner or system
administrator. Enter one or more email addresses separated by semicolons.
New Booking Notifications Sending to Customers
Enable or disable sending email notifications to customers. If the option is enabled, customers will receive a notification immediately after making a booking in the system (even before making the payment). Moreover, after successful payment via PayPal or Stripe (when the order status changes), the customer will receive a second email notification. Disabling this option will result in no notifications being sent to the customer.
New Booking Notifications Sending to Customers in Case of Successful
Payment OnlyThis setting only works when the ‘New Booking Notifications Sending to Customers’ option is set to ‘Enable’. Enabling this option means that an email is not sent to the customer immediately after making a booking, but only when he or she successfully makes a payment via PayPal or Stripe (as a result, the customer receives only one email – after completed payment).
New Booking Notifications Sending to Defined Addresses
Enable or disable sending email notifications to a defined list of recipients which you have previously defined in the ‘Recipients Email Addresses’ field. If the option is enabled, the defined list of recipients will receive a notification immediately when a new reservation is created in the system (even before the customer makes the payment).
New Booking Notifications Sending to Defined Addresses in Case of
Successful Payment OnlyThis setting only works when the ‘New Booking Notifications Sending to Defined Addresses’ option is set to ‘Enable’. Enabling this option ensures that email notification is only sent when a customer makes a successful payment via PayPal or Stripe.
Configure Global Settings
Go to the plugin’s main settings, menu item ‘Settings’ -> ‘Chauffeur Booking System’. Go to the ‘Email’ tab.
Default Sender Email Account
Set up a sender account here.
Congratulations, you’ve successfully configured your email settings!
FAQ – Frequently Asked Questions
1. When Does the System Send Email Notifications?
Email notifications are sent after a reservation has been made, immediately after the booking is created in the system (to the customer, and to the list of recipients). In addition, an email is sent after each change in the reservation status (in this case, only to the customer). You can change this behavior (from plugin version 6.8) so that email notifications are sent only after a successful payment via PayPal or Stripe. In this case, go to the menu item ‘Chauffeur Booking System’ -> ‘Booking Forms’, to the ‘Notifications’ -> ‘Email’ tab, and find the appropriate setting.2. How Does This Relate to Payments?
By default, notifications are sent immediately after making a reservation and before making a payment. After payment is made, the status changes and a second email is sent. You can change this behavior. See point 1 of this FAQ.3. Customers Receive Notifications but I Don’t Receive Any Emails About Reservations
a) Make sure that in the ‘Booking Forms’ menu, in the ‘Notifications’ -> ‘Email’ tab, you have entered your email address in the ‘Recipients Email Addresses’ field.b) Check if your emails are not going to the spam folder. If so, configure SMTP according to the guide above.
4. Customers Do Not Receive Emails
a) Check your SMTP configuration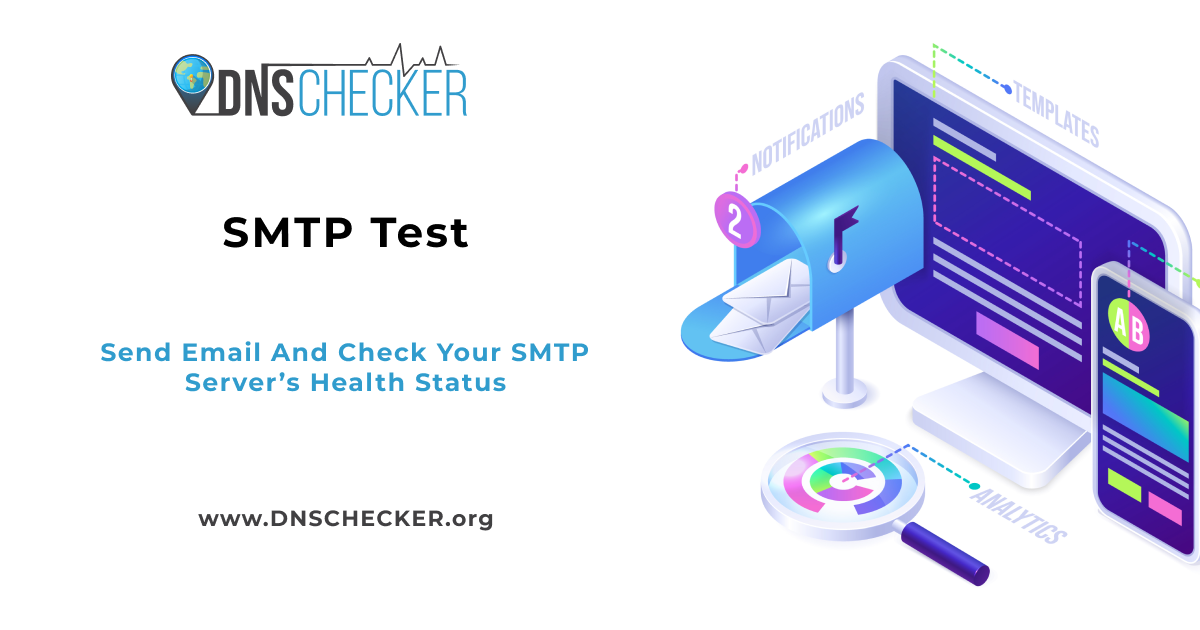
dnschecker.org
SMTP Checker | SMTP Test Tool Online
Test your SMTP server with our SMTP checker tool. Specify the server and the email addresses to simulate an email transfer.
Sorry, there were no replies found.
Log in to reply.